Hazel & Ruby has a super fun line of stencils and tissue and paper and more, I loved it when I first saw their stuff, and how it suited scrapbooking, mixed media, home decor and more!
So project #1 was a canvas- just like the one they show how to do on the back of the packaging of the stencils!
The 1st step was covering a canvas with Modge Podge
Then when the modge Podge is wet, I attached the paper from the roll to the canvas, making sure the edges are wrapped around the canvas and tucked around the back.
I applied a little heat to speed up the drying process:)
Using a ruler ( to keep the stencil straight)
I put my words on the canvas, these letters and words are great because they have a repositionable adhesive ( which also keeps a nice tight deal between the letters and the canvas.
The outlines are also found on the letter package, I decided to use it as a border.
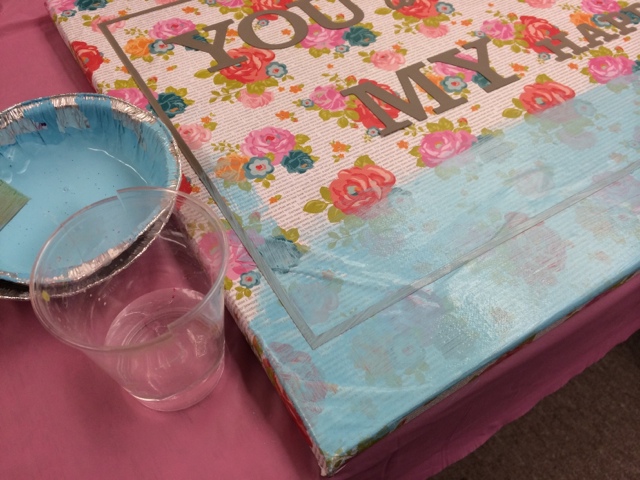
Then add paint- I played a little with this, I tried a watered down paint to give it more of a wash of color, I also tried a thicker paint, for a more opaque color, both looked good in different looks!
I pulled the letters off with tweezers, the letters looked pretty crisp!
Starting to look good- now for final details!!
I outlined the lettered with a white sharpie paint pen to give them more pop! Then also added some burlap and lace to finish off the canvas!
I wanted to try it again in a different color-
Here are are few pics if that,
Fun & easy project, a couple of things I learned, wipe the lettered down with a wet wipe as soon as you pull them off the canvas ( I pulled them off while paint was still wet) if you don't it doesn't affect the adhesive, but the paint will be harder to wash off.
Also I liked using thicker paint, I found there was less bleed-through, under the letters.
I hope you feel inspired!!